
Ten minutes, twice a year. That is enough to keep a garage door quiet and out of the repair queue. Tighten the hardware, lubricate the rollers and hinges and springs with a silicone or lithium product, wipe the tracks clean, and test the balance and the auto-reverse. That is the whole homeowner job. Anything that involves the springs, the cables, or the drums is where you stop and let a tech take over, because those parts hold enough stored energy to put someone in an emergency room.
Fall is the right time to do it. Cold thickens old grease and stiffens every part it touches, so a door that was merely slow in October is often a door that will not budge in January.
Why ten minutes matters on this particular machine
Your garage door is the largest moving part of your house, and most people run it four to six times a day without a second thought. Call it 1,500 cycles a year. Every one of those cycles vibrates the hardware a little looser, wears the rollers a little rounder, and takes a little life out of the springs.
The failures we get called out for are almost never a part that died young. They are a part that spent two years running dry, or a bolt that backed out over a hundred openings until a bracket started to flex. Maintenance is cheap because it happens before that damage spreads to the parts around it. A dry roller costs a few dollars to replace. The bent track it grinds into over a year of running dry costs considerably more.
The checklist, in the order I run it
1. Watch and listen to one full cycle. Before touching anything, stand inside with the door closed and run it up and down once. You want to hear where the noise lives and see whether the door travels evenly. A pop at the same spot every time usually means a hinge or a roller at that point in the track. Grinding from the motor unit is a different conversation. If you want to decode what you are hearing, the sounds a garage door makes each point at a specific part.
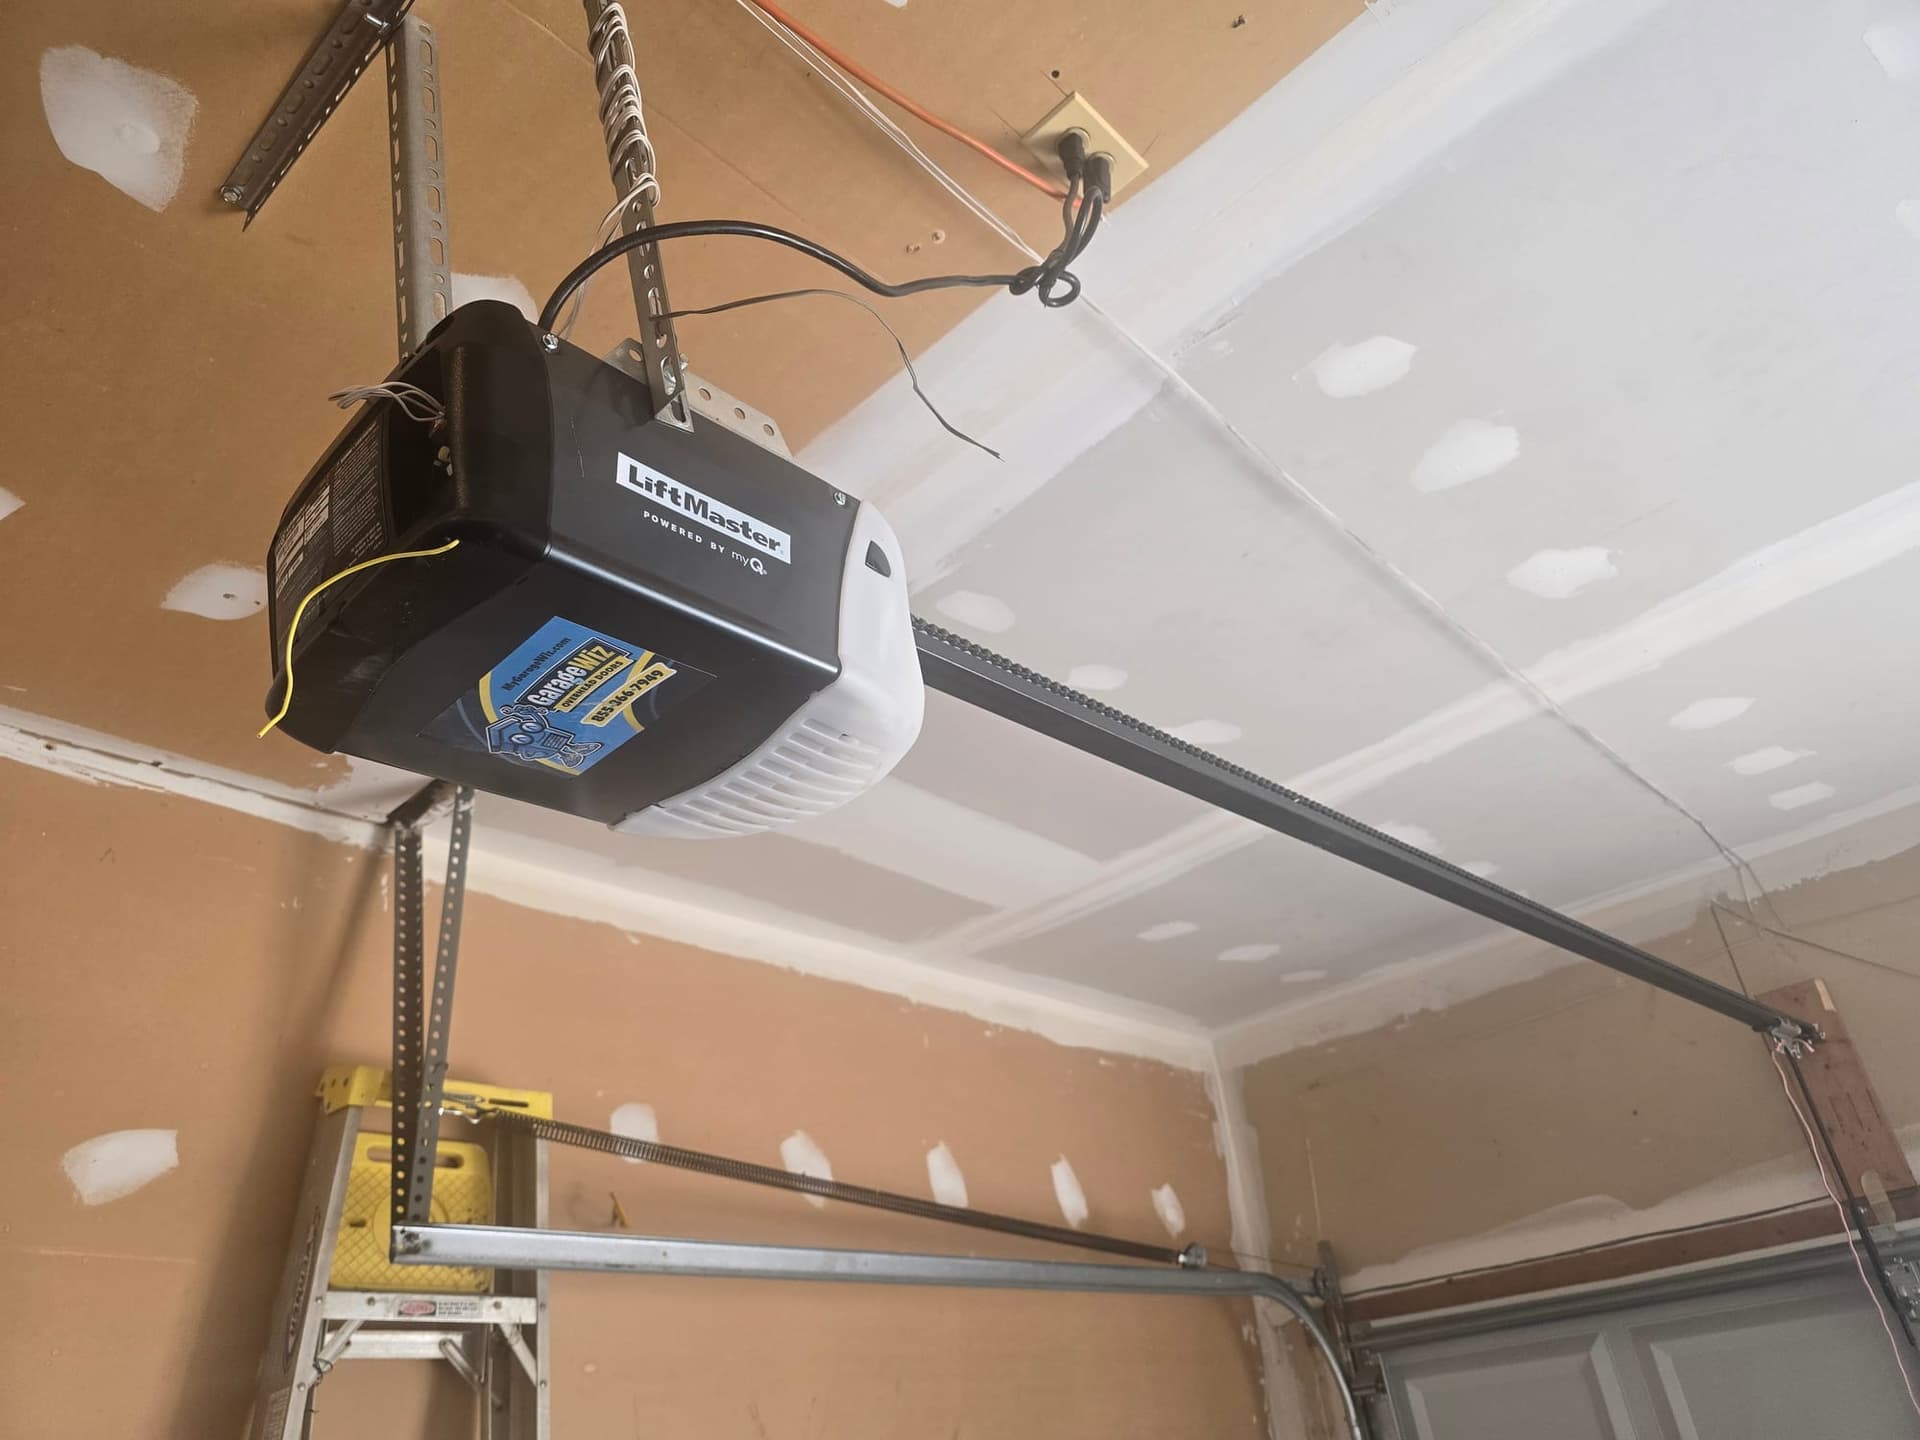
2. Tighten the hardware. Vibration loosens bolts. Take a socket wrench to the roller brackets, the hinges, and the track fasteners, and snug up anything that has backed off. Firm, not cranked. Over-torquing strips the hole in thin steel and leaves you worse off than the loose bolt did. Check the two lag bolts holding the opener rail to the ceiling bracket while you are up there, since those carry a lot of shaking.
3. Lubricate the moving parts. Use a garage-door-specific silicone spray or a white lithium grease. Hit the roller stems and bearings, the hinge pivots, the springs along their length, and the bearing plates at each end of the torsion shaft. A short spray on each point is plenty. What you want to avoid is WD-40, which is a solvent and a water displacer. It strips whatever lubricant was left and leaves the part dry a week later.
4. Wipe the tracks, do not grease them. The rollers ride on the track. Grease there collects grit and turns into a sanding compound. A rag with a little household cleaner is all the track wants. Clear out the leaves and cobwebs at the bottom of the vertical track while you are down there, because that corner catches everything in the fall.
5. Look hard at the rollers. Pull each one into view as the door moves and check for flat spots, chipped nylon, or a stem that wobbles in its bracket. Steel rollers with no bearings are the ones that go first and the ones that make the most noise. Nylon rollers with sealed bearings last longer and run quieter, and swapping a full set is one of the cheaper upgrades on the whole door.
6. Test the balance. This is the most useful thirty seconds of the whole routine. Close the door, pull the red release cord, and lift the door by hand to about waist height. Let go. A balanced door holds roughly where you left it. If it sags to the floor or drifts up on its own, the springs are no longer carrying the weight correctly, and the opener has been covering for them. Do not adjust anything yourself. Balance is spring work, and garage door spring replacement belongs to a tech with winding bars and a weight for the door.
7. Test the safety reversal. With the door reconnected to the opener, lay a two-by-four flat on the floor in the door’s path and close it. The door should touch the wood and reverse immediately. Then wave a broom handle through the photo eyes six inches off the floor while the door closes. It should stop and go back up. Every door built since 1993 has both systems, and both drift out of adjustment over time. If either test fails, stop using the door until it is corrected. There is more on the 30-second reversal test if you want the longer version.
8. Check the weather seal and the bottom edge. The rubber astragal along the bottom hardens and cracks with age, which lets in cold air, water, and mice. Fall is the right time to replace it, before the first freeze bonds a brittle seal to a cold slab. Check the side and top stops too.
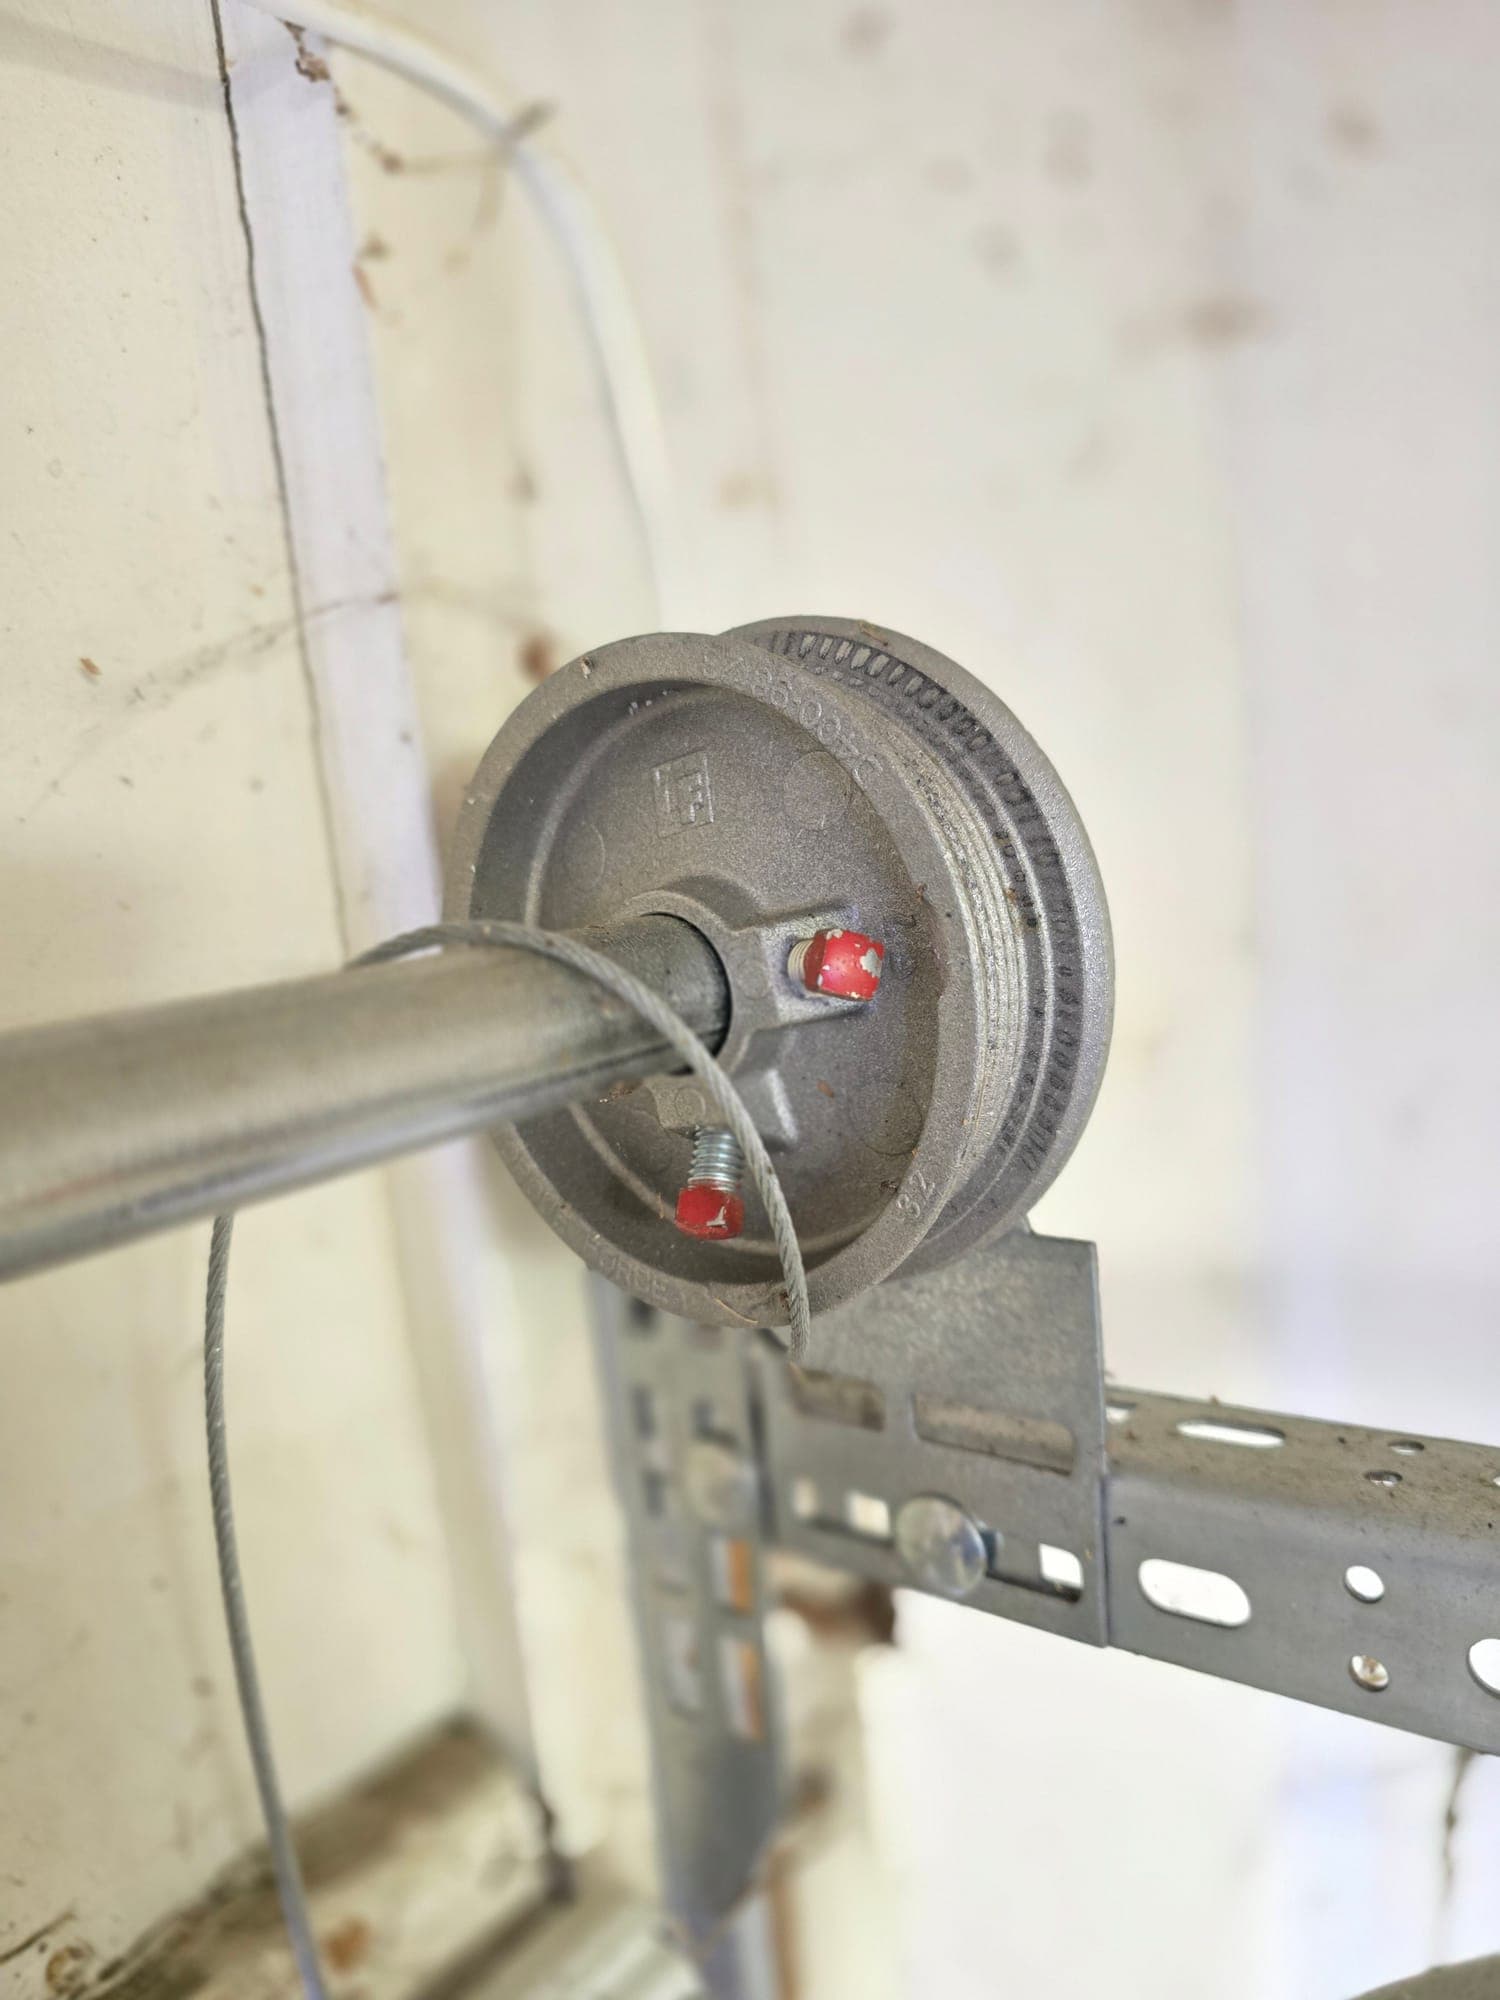
9. Look at the cables and springs, and then leave them alone. Shine a flashlight along both lift cables from the drum down to the bottom bracket. You are looking for fraying, a strand standing proud of the others, or slack on one side. On the springs, look for a gap in the coil, rust, or a coil that has stretched unevenly. Anything you find here goes on the call list, not the to-do list.
What belongs to you and what belongs to a tech
Anything in the tech-only rows gets a flat price quoted and approved before the work starts.
What a professional visit adds
The homeowner routine covers lubrication, hardware, and the two safety tests. A professional garage door tune-up adds the parts you cannot safely check yourself: spring tension measured against the door’s actual weight, cable and drum condition, track alignment against a level, opener force and travel limits, and the bearings at each end of the shaft. Ours is a 33-point run through the whole assembly, and it ends with a written note of anything worth watching so nothing is a surprise six months from now.
Cost sits at the bottom of the price list. A tune-up is the least expensive visit we make, and the range across the DMV is wide because door sizes and conditions are. If the inspection turns up a part that needs replacing, you get a flat price for that work before anything starts, and you can say no. Most spring and roller work on a standard door lands somewhere between $200 and $800, with heavy, oversized, and custom doors running more.
A real one from Frederick
A Frederick homeowner booked us for a tune-up on a two-door garage and asked whether we could also sync a new opener she had bought. Nothing was broken. She just wanted the doors gone through before the weather turned. Her note afterward mentioned that the tech showed up on time and walked her through everything he found on both doors.
I like that call more than most repair calls. Two doors went through the full inspection in one scheduled visit, at a time she picked, instead of a van showing up at 9pm because something let go. Frederick County homes run from downtown rowhomes out to farmhouses near Mount Airy, so we see a lot of older hardware sitting at the end of a long driveway. A door that will not open on a January morning is a much worse problem out there than it is in Rockville, and the visit she booked in the fall is what keeps that morning from happening.
The short version
Twice a year, put ten minutes into the door. Bolts, lube, clean tracks, balance check, safety test. Write down anything that looks off around the springs and cables and hand that list to a tech. Do that and the door stays quiet, the opener lasts longer, and you stop meeting people like me at inconvenient hours.