

Modern openers have two safety systems that are supposed to stop the door from crushing anything in its path. Both can fail silently. Here’s how to test them in a couple of minutes.
Why does a garage door need a safety test?
A garage door weighs somewhere between 130 and 350 pounds, and the opener drives it down without knowing what is underneath. A door that fails to reverse keeps pressing on whatever it lands on, whether that is a bumper, a dog, or a child who ran under it at the last second.
Federal safety rules deal with this in two layers. Every residential opener has to reverse on its own when the door hits something. On top of that, the Consumer Product Safety Commission rule (16 CFR Part 1211) requires openers made on or after January 1, 1993 to carry additional entrapment protection. That can be an external device, either photo eyes or a sensor strip along the bottom edge of the door, or a wall control that only runs the door while you keep your finger on the button. Nearly every opener we see uses photo eyes.
Both layers can drift. A trash can bumps a sensor an inch out of line, or someone turns the force dial up on a cold morning and never turns it back. The door keeps working, so nobody notices until the day something is in the way.
How do I test the garage door photo eyes?
1. Find the two sensors. They are small boxes mounted on the track or the wall on each side of the opening, about six inches off the floor. One sends an invisible beam and the other receives it. Most have a small light on them. A steady light on both means they are lined up. A blinking or dark light on one side means they cannot see each other.
2. Clear the opening and raise the door. Move cars and bikes out of the doorway and open the door all the way from the wall button.
3. Start the door closing and break the beam. Press the wall button once. When the door is about halfway down, pass a broom handle or a cardboard box through the beam between the two sensors. Use an object, not your foot or your hand.
4. Watch what the door does. It should stop and go back up to fully open. Many openers also flash their light or click when the beam is broken.
If the door keeps closing through the broom, the test has failed. Stop using the remote and close the door only from the wall button while you watch it, until the sensors are checked.
How do I test the auto-reverse on my garage door?
This one checks the opener’s force setting, the part that decides when the door has hit something it cannot see. The photo eyes will not help here, because the test object sits below the beam.
1. Open the door and lay a 2x4 flat on the floor. Put it in the center of the opening, right where the bottom edge of the door will land. Laid flat, a 2x4 stands about an inch and a half tall, which is the standard test height for this check. Keep people and pets out of the garage.
2. Close the door with the wall button. Stand clear and watch the bottom edge as it comes down.
3. Check the reversal. When the door touches the board, it should stop and reverse within about two seconds and travel back up. If it stops on the board and stays there, or keeps pressing down, it has failed.
Some homeowners run the same test with a roll of paper towels laid flat in the door’s path. It shows the same thing. When the door touches the roll it should reverse. If it keeps pushing, the down-force is set too high. A door that fails either test shouldn’t wait, and a same-day garage door repair gets the safety systems working again before someone gets hurt.
What does it mean if my garage door fails?
When two causes are possible, a tech confirms it on site before quoting anything. You approve one flat price before any work starts.
What should I do if the photo eyes fail?
Start with the easy causes. Wipe both lenses with a dry cloth, since dust, cobwebs, and condensation are enough to block the beam. Check that neither bracket has been knocked crooked, and that nothing in the garage is sitting in the beam. Then look at the lights. Gently bend the bracket on the blinking side until its light holds steady, and run the broom test again.
If the lights will not settle, or the door still closes through the beam, the problem is past what a cloth can fix. Usually it is a pinched or chewed wire, a staple through the cable, a dead sensor, or an older opener wired to ignore its sensors. Garage door sensor and opener repair is the right call at that point, and most sensor jobs take one visit. Realigning or replacing a pair of photo eyes typically runs $150 to $450 or more, depending on the wiring and whether sensors for that opener are still made, and you get one flat price, approved before any work starts.
What should I do if the reversal test fails?
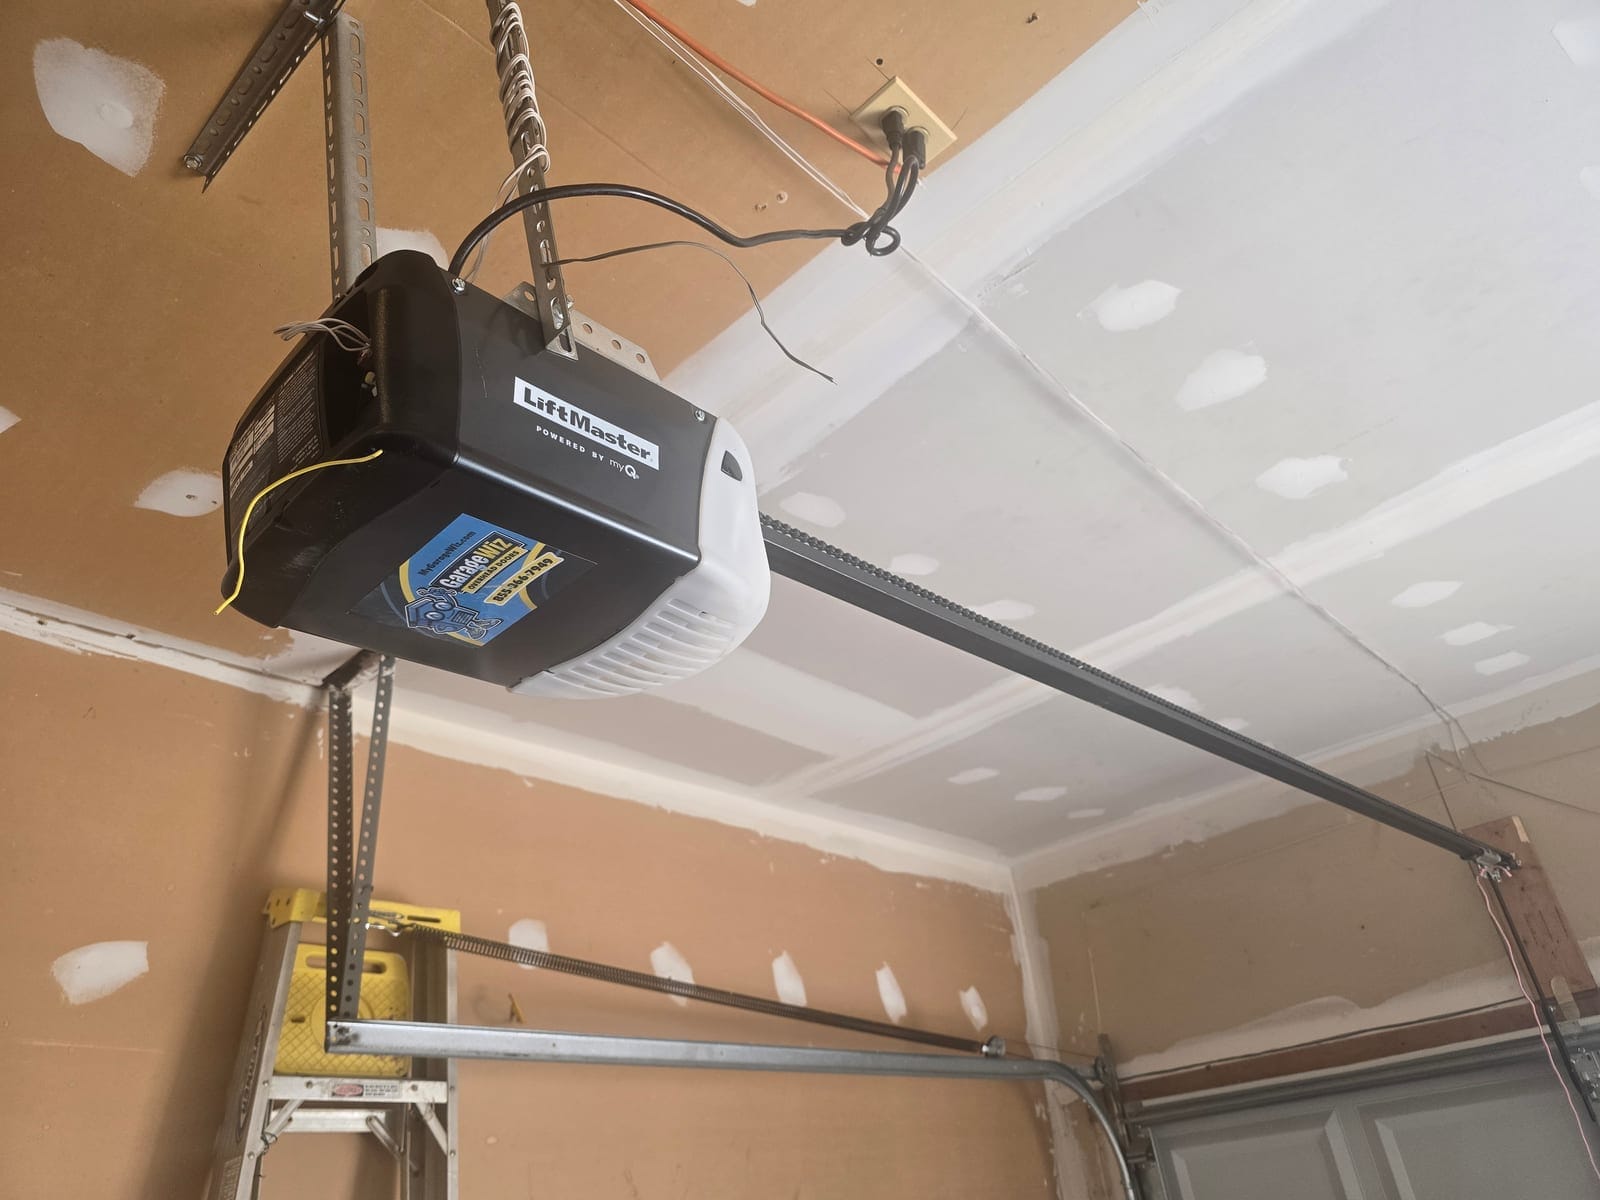
Stop using the remote and leave the door closed unless you are standing there watching it. The force setting on the motor unit tells the opener when to stop pushing, and a dial turned up to get a sticky door moving is behind a lot of the reversal failures we find. Leave it alone rather than turning it further.
A tech checks why the force was off before resetting it. Often the springs are tired or out of balance, the door has gotten heavy, and the opener was turned up to cover for it. On an opener made before 1993, or one with a stripped gear or a failing board, the honest answer is often a new opener. Opener repairs on most DMV doors land around $200 to $800 or more, and a replacement installed runs roughly $500 to $1,500 or more, with heavy doors and premium models above that. Either way you see one flat price before any work starts.
How often should I test my garage door?
Once a month is the standard advice from the Consumer Product Safety Commission and the opener makers, and it takes about two minutes for both tests. Run them again after anything that could knock a setting loose: a bumped sensor, a power outage, a new opener or remote, or the first properly cold morning of the year.
Once a year, have the whole system looked at. An annual garage door tune-up covers what a homeowner cannot safely check, like spring balance, cables, and the opener’s force and travel limits, and ends with both safety tests on the finished door. For the homeowner side, the fall tune-up checklist walks through it in order.
A real one from Silver Spring
Kathy H. in Silver Spring had us install a new door, then called us back later to replace her old sensors. Her review says the door works perfectly now. Greg S., a Rockville customer, mentioned something similar in his: alongside a new keypad and his remotes, we sorted out the touchy sensors at the floor.
Neither was a big repair. Sensors sit at bumper height, collect dust and condensation, and eventually just quit. What matters is which way they fail. A door that refuses to close is a nuisance, while a door that closes right through the beam is a hazard, and the monthly broom test tells you which one you have.